
It is super easy to quickly add Custom Profile fields with the ScaleGrowth Data Model engine.
- to get started, make sure to Enter Admin mode
- head to User Journeys > Onboarding & Profile > My Profile
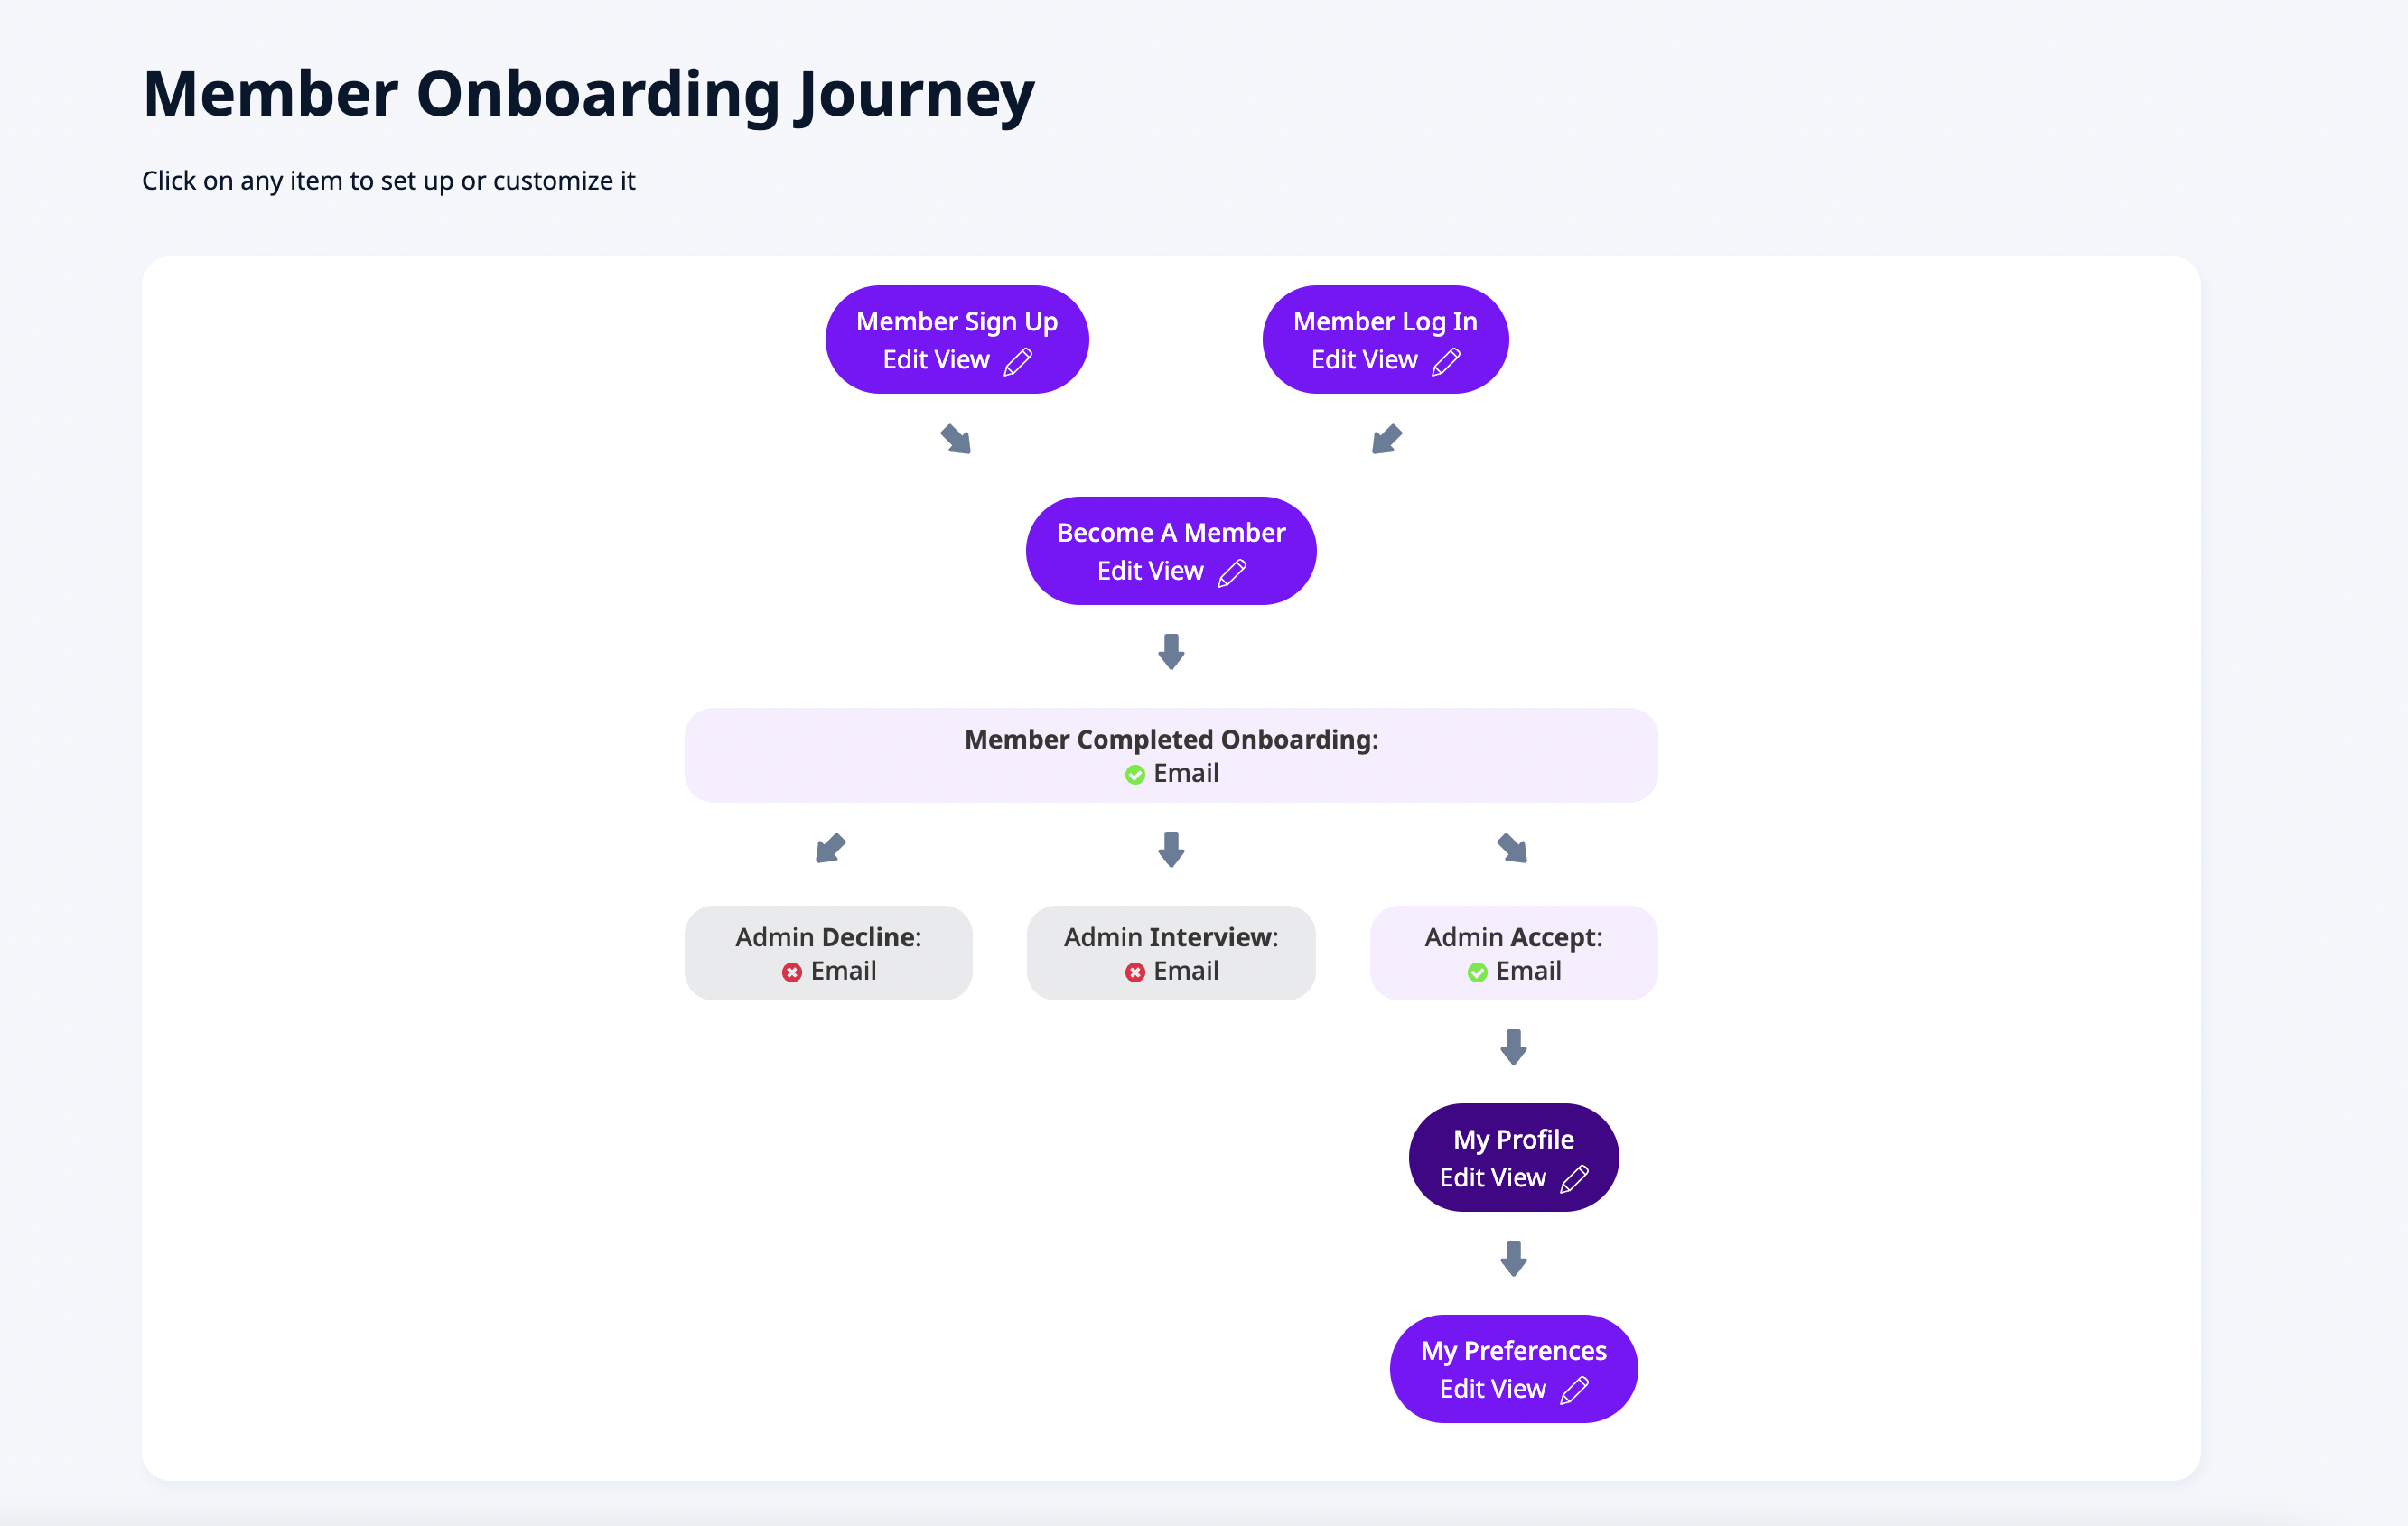
- it will take you to the Profile view for your platform
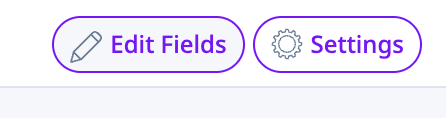
- in here, click the Edit Fields button in the top right
- you will see the various Editor controls appear on the page (in purple below)
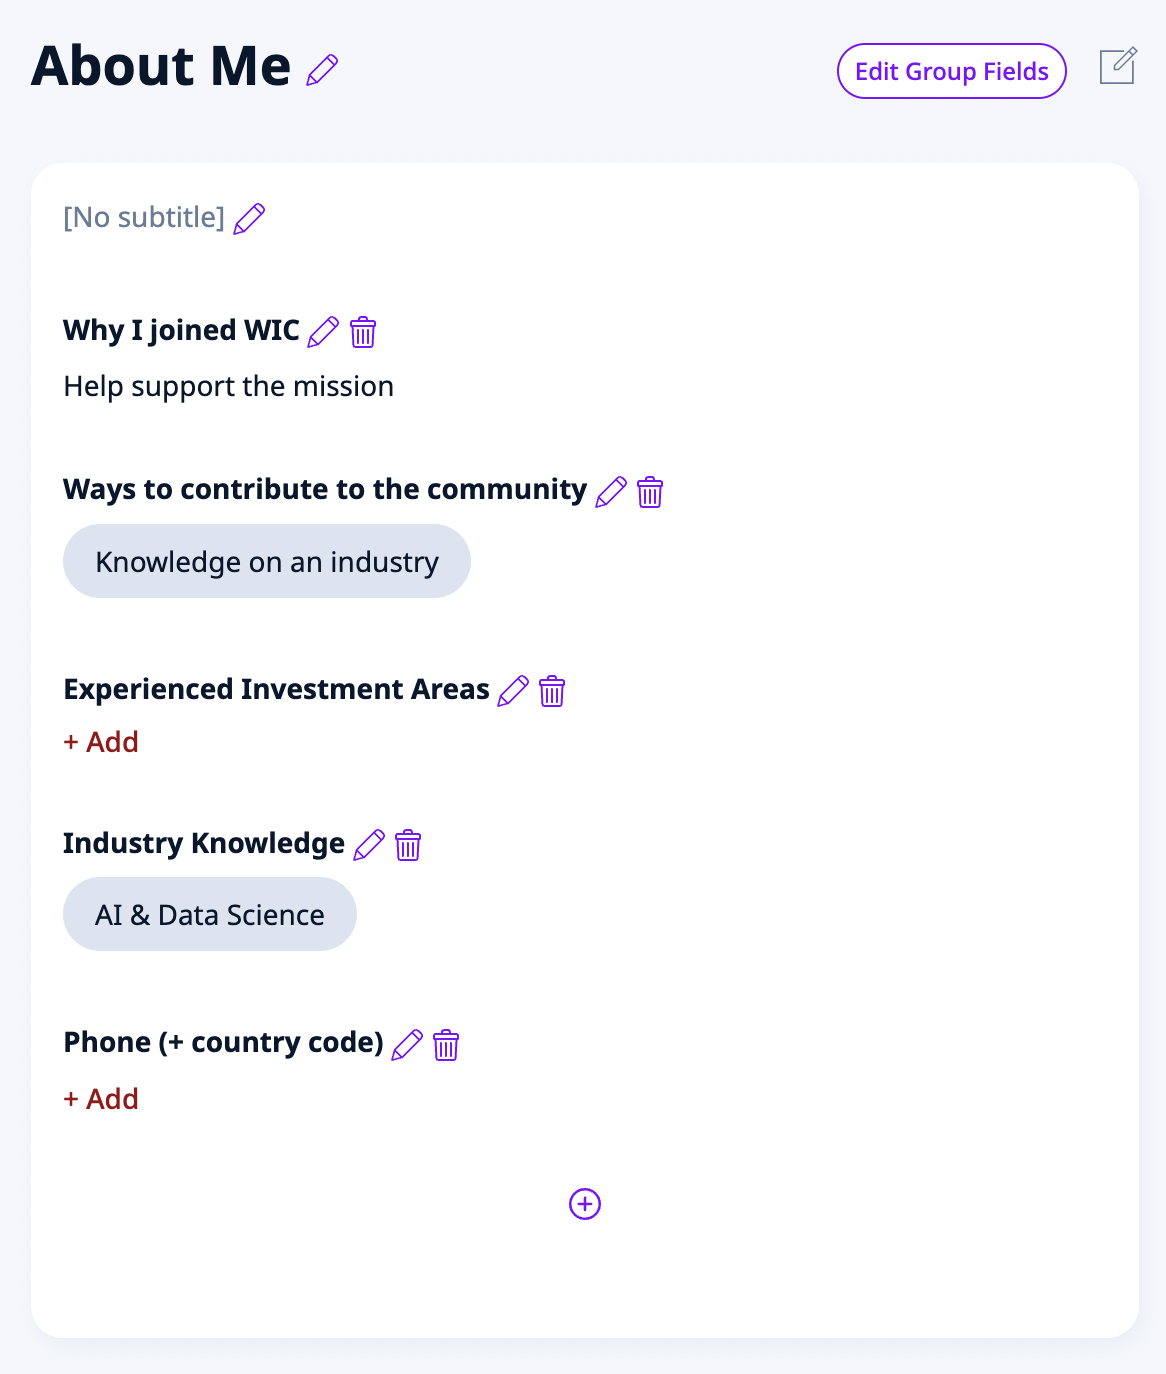
- click on the + button to add a new field
- select the Field Type you wish to use in the Wizard
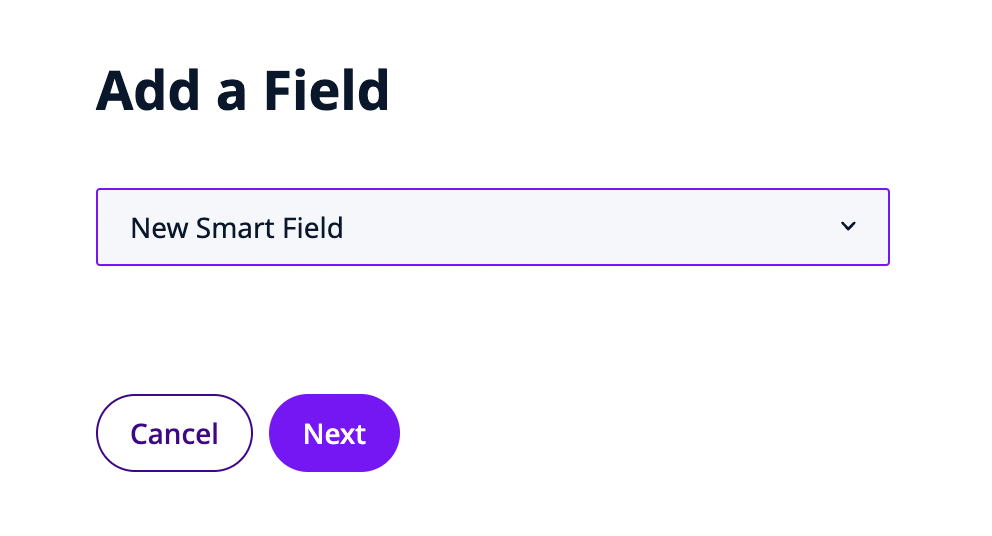
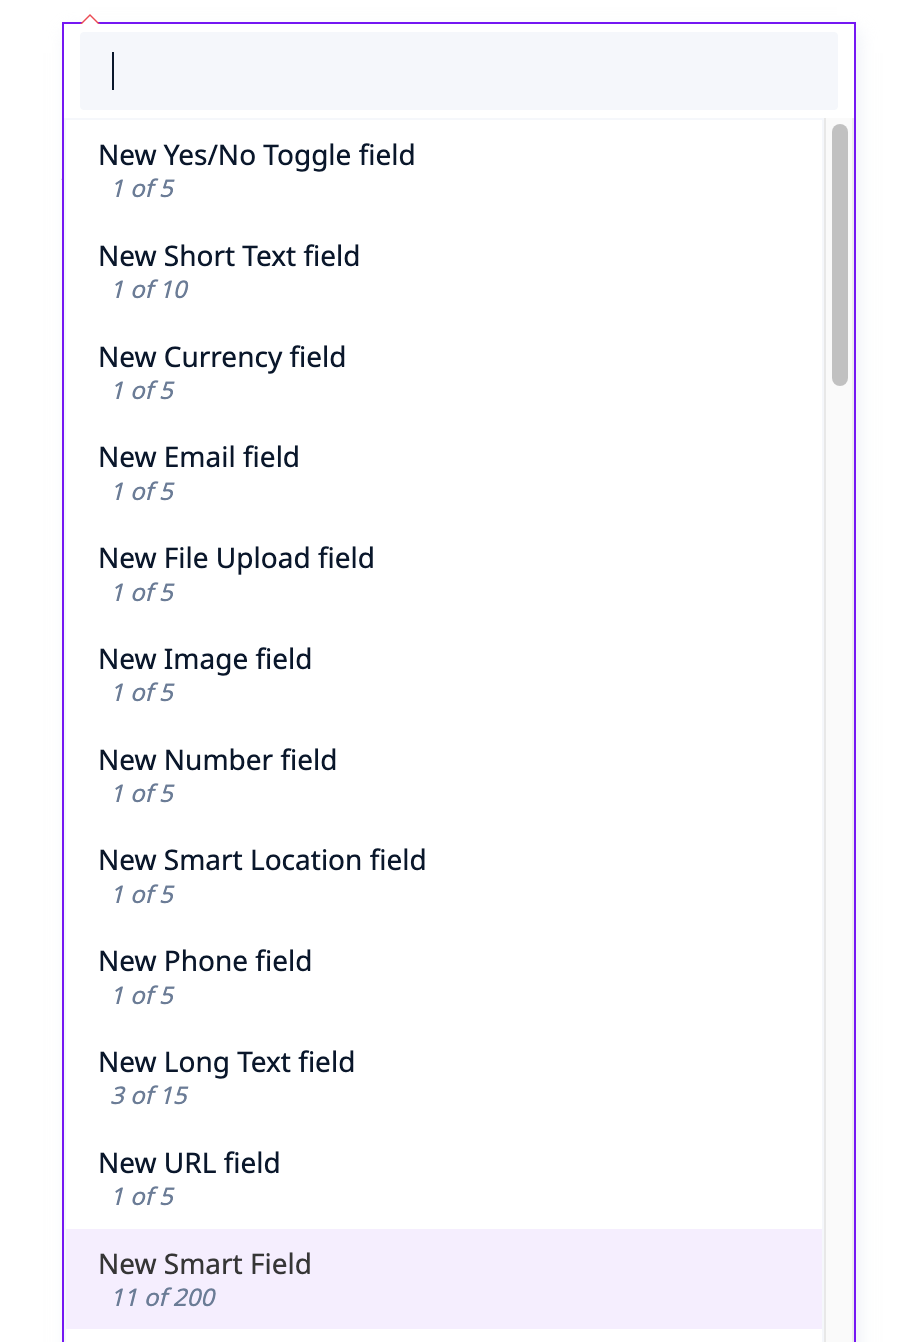
- when in doubt, we recommend selecting Smart Fields
- these can be setup to use all sorts of modes, from free text entry to multiple-choice to smart tag cloud search widgets and many more
- click Next to configure your new field
Here are all the Field Configuration Options:
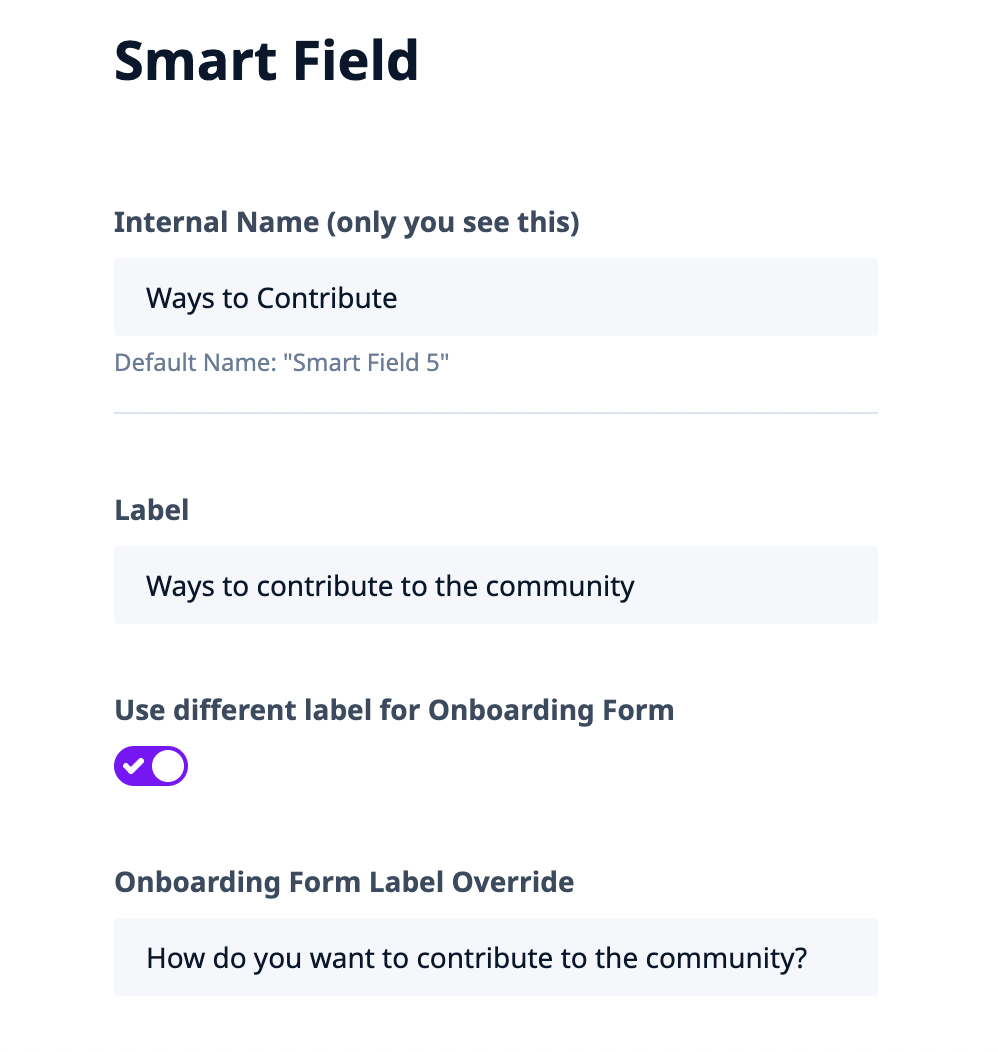
Internal Name – for your convenience, so you can refer to the same field across different views
Label – the Label the users will see on their Profile
- you can also use a different label during Onboarding
- to do this, select Use different label for Onboarding Form
- and fill out the Onboarding Form Label Override

Required – whether this field is Required or Optional
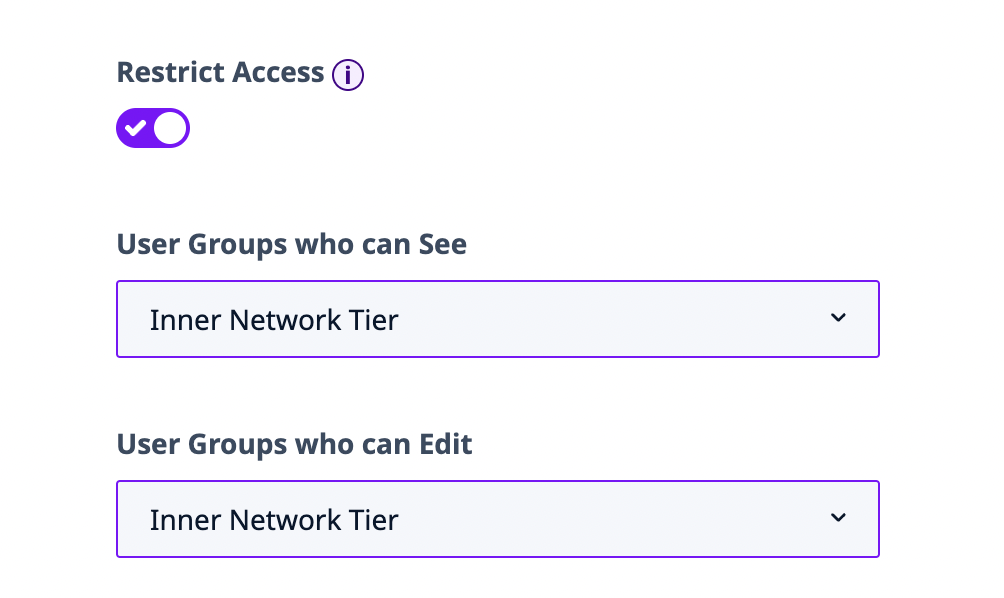
Restrict Access – Optional fields only – set this field to show up only for users with specified permissions. You can also set this field to only be editable by users with given permissions.
- User Groups who can See affects how Others see this person’s Profile (or Preferences) field – in the Directory Listings, as well as on the Public Profile Micro-Page that is shown to others
- Set Who can See to restrict who can see what about each other – and if you don’t set it, everyone who can see this Profile in the Directory or visit their Micro-Page will see this field (assuming you have it enabled in those views)
- User Groups who can Edit affects how Themself can edit their own Profile (or Preferences or Onboarding)
- Set Who can Edit to restrict who can edit what about themselves – and if you don’t set it, everyone can edit this field (assuming Conditional Logic allows it)
- The two settings are completely independent of each other, since they affect entirely different views.
Examples:
- Let’s say I add a field “VIP” – If I only want my admins to grant/revoke “VIP” status, I’d use Who can Edit to restrict it … and if I want to have the “VIP” status be secret, I’d use Who can See to hide it from others.
- And yes, you could apply both at the same time – a common use-case is to create an Admin-only field like “Internal Notes” for your internal team only. If I don’t see it on my own Profile due to Who can Edit restrictions, and no-one else sees it on my Directory Listing / Micro-Page due to Who can See restrictions – well, I never see this field at all anywhere as a regular user!
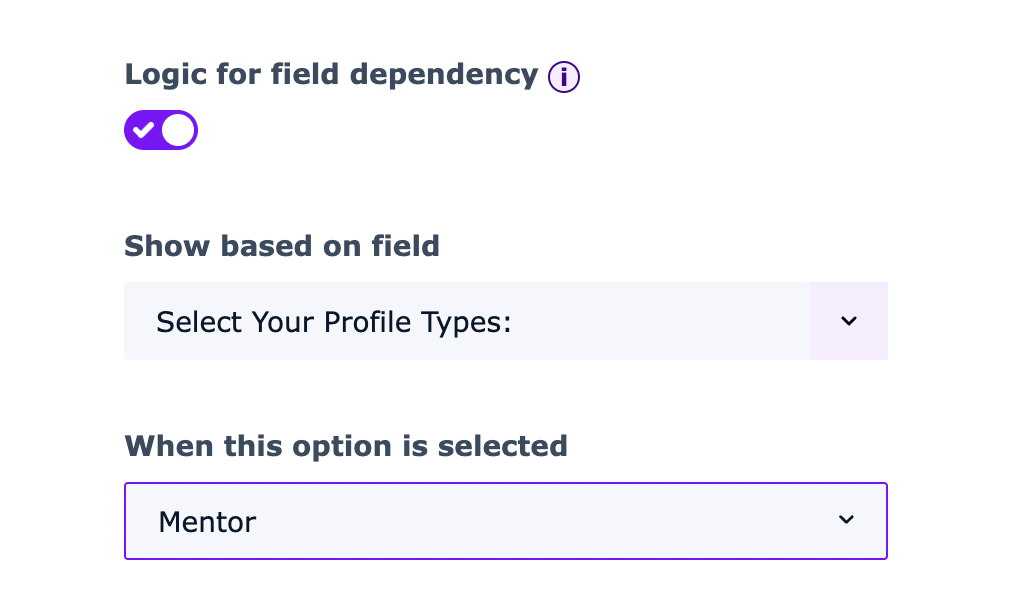
Logic for field dependency – sets this field to only show up dynamically when a specified value is selected in another field.
- This is commonly used to create conditional logic in your profiles, with additional detail fields only showing up based on prior responses.
---
Finally, the below options only applies to our ScaleGrowth Smart Fields:
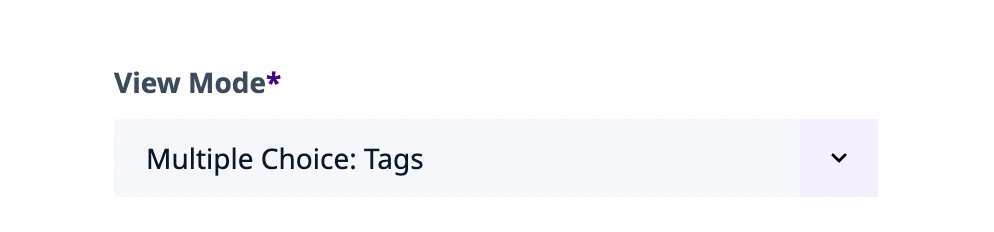
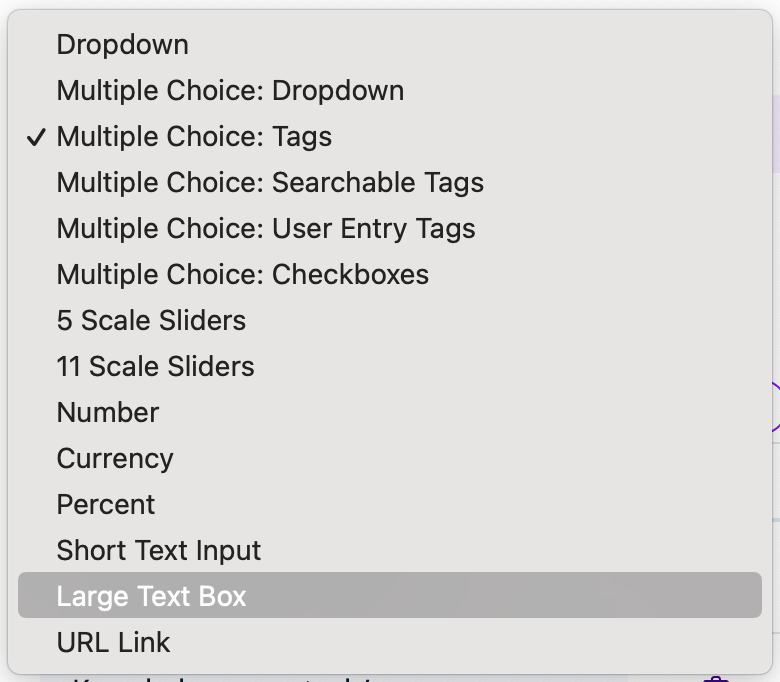
View Mode – choose how the field will visually appear to your users
- There are a lot of options here, we recommend exploring them all!
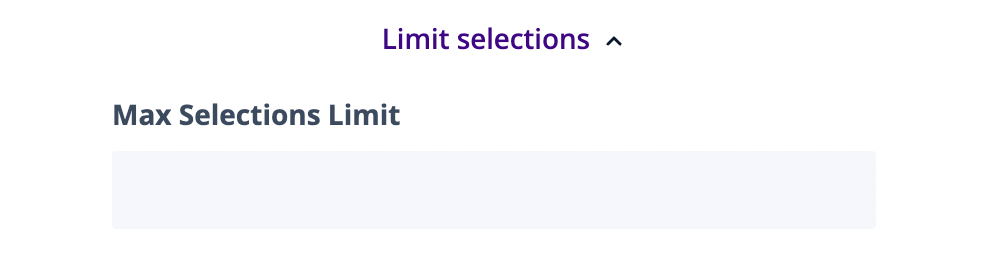
Limit Selections – multiple-choice View Modes only – you can limit the number of selections a user can make for this field
- simply enter a number under Max Selections Limit
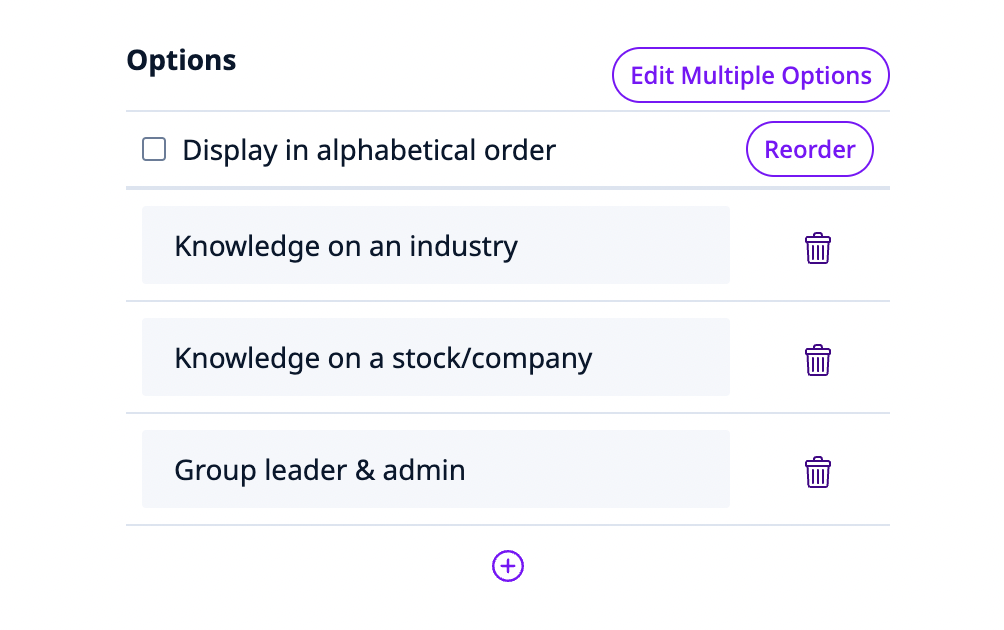
Options section – option-based View Modes only – here you can manage the selection options for this Smart Field
- note that each Smart Field's Options are shared platform-wide
- this means that you can define a field with a bunch of Options once, and use it across many views on your platform
- this is extremely convenient for defining a single "source of truth" for things like the list of Industries or topics / categories that is common for your use-case
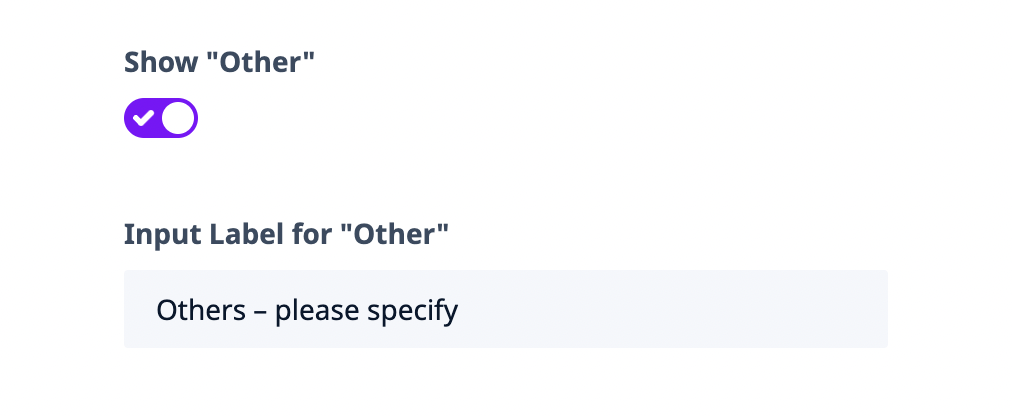
Show "Other" – option-based View Modes only – whether or not to give the User an "Other" option to enter whatever they like
- you can also customize the Label for the "Other" input box under Input Label for "Other"
